


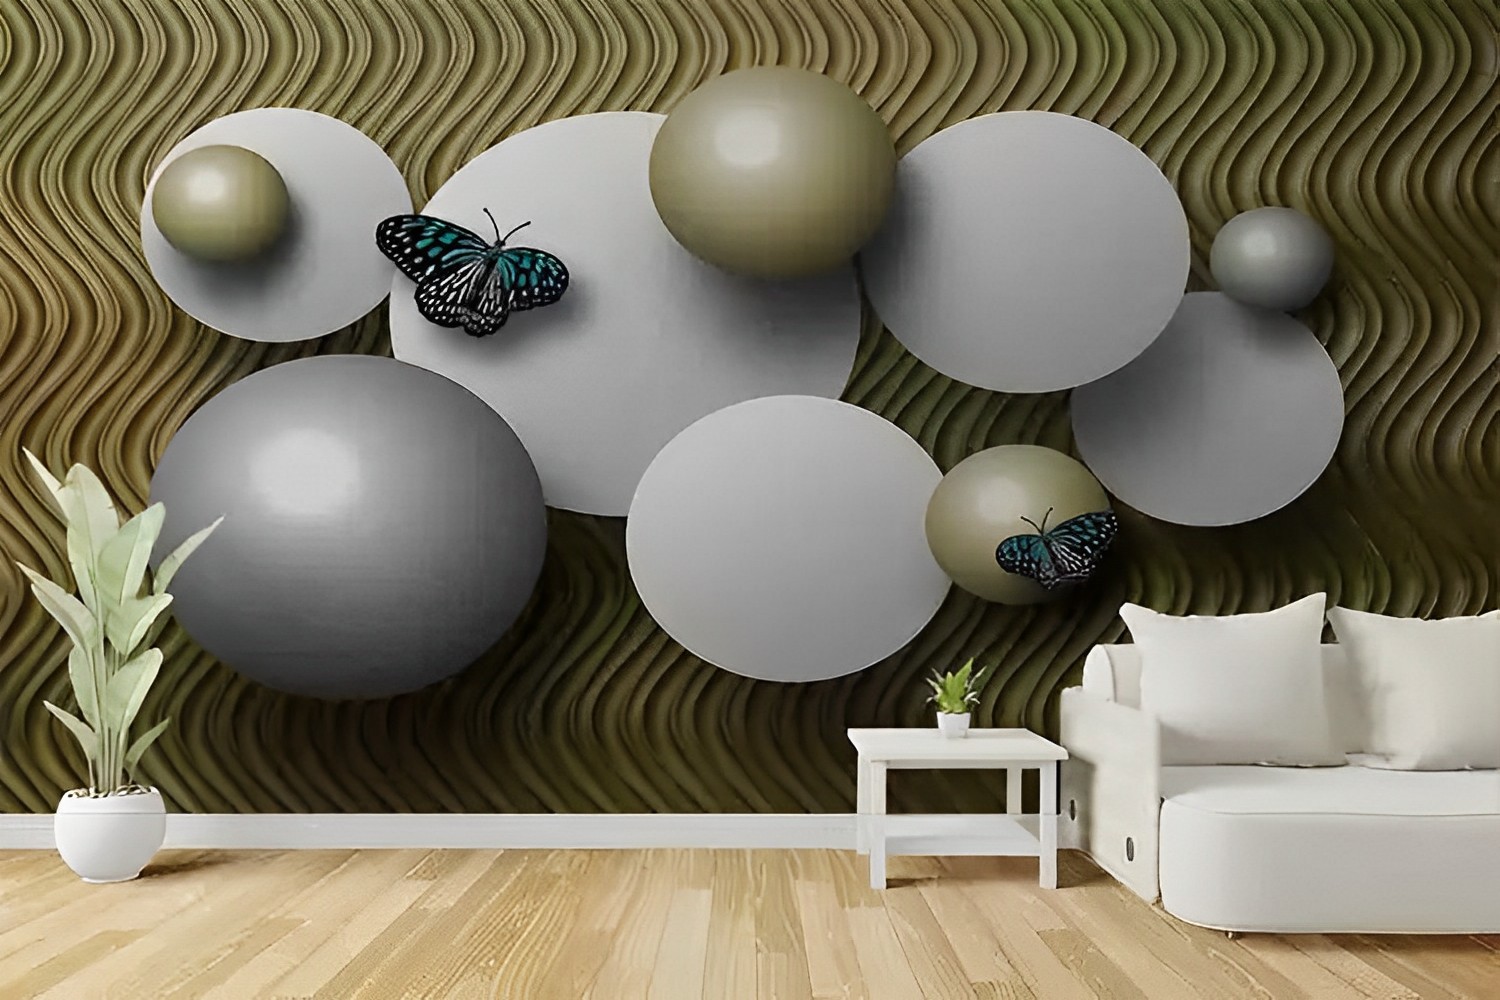
DIY home makeovers have surged in popularity, offering a cost-effective way to refresh and personalize living spaces. Among the myriad of options available, 3D wallpaper for walls stands out as a transformative solution that can add depth, texture, and visual interest to any room. Particularly, 3D flower wallpaper brings a vibrant, natural element indoors, creating a soothing and dynamic environment. This guide will walk you through the process of selecting and installing 3D wallpaper, ensuring your DIY project results in a stunning transformation.
Selecting the Right 3D Wallpaper

The first step in your DIY makeover is to choose the right 3D wallpaper for your walls. Consider the room’s function, lighting, and existing decor when selecting your design. 3D flower wallpaper, for example, can introduce a sense of freshness and vitality, making it ideal for living rooms, bedrooms, or even home offices. Look for high-quality materials that offer durability and ease of installation, especially if you’re new to wallpapering.
Preparation is Key
Before you begin the installation, proper wall preparation is crucial to achieving a smooth, professional-looking finish. Ensure the wall is clean, dry, and free of any imperfections. Fill in any holes or cracks, and sand down rough areas. For best results, apply a primer suitable for wallpaper application. This step not only helps the 3d wallpaper for walls adhere better but also facilitates easier removal if you decide to update your decor in the future.
Measuring and Cutting
Measure your wall carefully and calculate the amount of wallpaper needed, adding a bit extra for pattern matching and trimming. When cutting your wallpaper, use a sharp utility knife and a straightedge to ensure clean, straight cuts. It’s better to cut larger pieces and trim the excess later than to end up with pieces that are too short.
Applying the Wallpaper
Many modern 3D wallpaper for walls come in peel-and-stick varieties, making them ideal for DIY enthusiasts. Begin at the top corner of your wall and slowly peel the backing as you apply the wallpaper to the wall, using a soft cloth or a wallpaper smoothing tool to smooth out any bubbles or wrinkles. For non-adhesive wallpapers, you’ll need to apply wallpaper paste either to the back of the wallpaper or directly to the wall, depending on the product instructions.
Dealing with Corners and Obstacles
Corners and obstacles like windows or outlets can be tricky, but with patience, you can achieve a seamless look. When approaching a corner, allow the wallpaper to overlap onto the adjoining wall and then trim the excess for a precise fit. For obstacles, make relief cuts in the wallpaper and work around the object, trimming as necessary to ensure a snug fit.
The Final Touches
Once the wallpaper is applied, go over the entire surface with a smoothing tool to secure the bond and eliminate any remaining air pockets. Trim any excess from the top and bottom edges for a clean finish. Stand back and admire your work; the 3D effect should add a new dimension to your room, with the flower patterns bringing a dynamic and refreshing energy.
Conclusion
Installing 3D wallpaper for walls, especially with delightful 3D flower patterns, is a rewarding DIY project that can dramatically change the ambiance of a room. With the right preparation, careful selection, and attention to detail, you can achieve a professional-looking makeover that breathes new life into your home. Whether you’re looking to create a focal point, add depth, or simply refresh your space, 3D wallpaper from SNG Royal offers a quick and impactful solution.
Click here for read more: